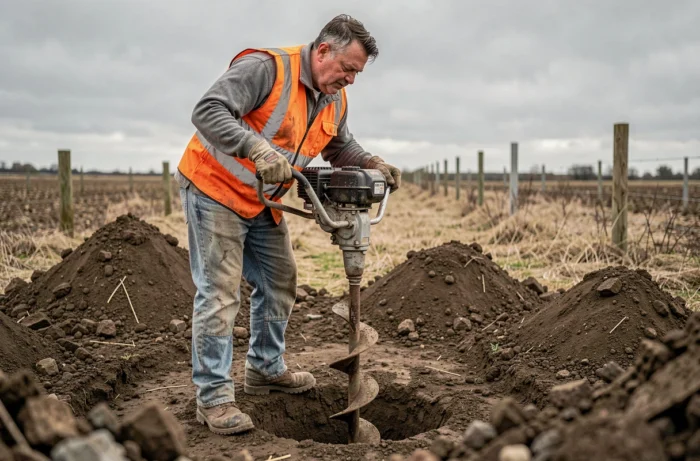
Between a manual auger, an electric one, and a gas-powered one, drilling performance varies considerably depending on the nature of the terrain. Understanding these differences before starting a project prevents blockages during drilling, mechanical overloads, and returns for unsuitable equipment. This guide compares key technical data and details the points that make a difference on site.
Torque, weight, and efficiency: comparison of augers by motorization
The choice of a professional auger relies on three measurable variables: the delivered torque, the weight of the unit, and the compatible drill bit diameter. Here is a synthetic comparison based on the common characteristics of available models.
| Criterion | Manual auger | Electric auger | Gas-powered auger |
|---|---|---|---|
| Current max depth | Up to 1 m | Variable depending on the model | Several meters (with extensions) |
| Drill bit diameter | 100 to 150 mm | Depending on motorization | 100 to 300 mm |
| Suitable soil type | Loose, sandy soil | Loose to moderately compact soil | All except rock |
| Physical effort | High | Moderate | Moderate (vibrations to manage) |
| Autonomy | Unlimited | Limited by cable or battery | Limited by the tank |
The manual auger remains relevant for occasional work on loose soil. However, as soon as the terrain becomes clayey or the number of holes exceeds ten, the gas-powered motorization becomes essential due to its versatility.
To make the right choice before starting, knowing how to use a professional auger for the soil begins with accurately identifying the type of terrain and the required drilling diameter.
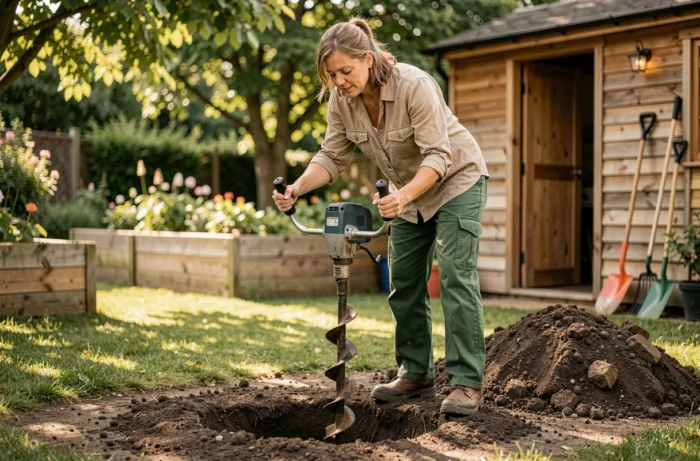
Gas-powered auger on clay soil: managing torque and blockages
Clay soil is the main adversary of an auger. The earth sticks to the drill bit, slows down rotation, and causes jolts that severely strain the transmission mechanism. On sandy soil, the drill bit progresses smoothly. On wet clay, resistance can double or triple.
Drilling technique using successive passes
The most reliable method is to drill in short passes. Lower the drill bit about twenty centimeters, raise it to clear the earth, then lower it again. This approach limits the accumulation of material on the spirals and reduces the risk of complete blockage.
- Raise the drill bit every two to three complete rotations to clear the clay stuck to the spirals
- Lightly moisten the hole if the soil is very dry and compact, which facilitates penetration without turning the bottom into mud
- Check the condition of the cutting edge of the drill bit before each series of holes: a dull blade multiplies mechanical effort and accelerates motor wear
On two-stroke gas-powered models, torque is managed by the throttle. Starting drilling at a moderate speed and then gradually increasing helps avoid starting jolts that tire the arms and the reducer.
When the drill bit gets stuck
A blockage during rotation transmits a brutal twist to the handles. On a one-person auger, this phenomenon can cause wrist or shoulder injuries. Professional models include a safety clutch that disconnects the drill bit from the motor in case of excessive resistance.
Before buying or renting, check for the presence of this clutch. Entry-level augers rarely have this feature.
Vibrations and noise: regulatory constraints for professionals
Prolonged use of a gas-powered auger exposes the operator to two well-documented physical risks: vibrations transmitted to the upper limbs and noise.
Directive 2000/14/EC on noise emissions from equipment used outdoors regulates the noise levels of gas-powered augers. A delegated regulation from the EU (2024/1208) has updated noise measurement methods, with mandatory application starting from May 22, 2025. Recent professional models are therefore designed to better control noise emissions, which can influence a purchase or rental decision.
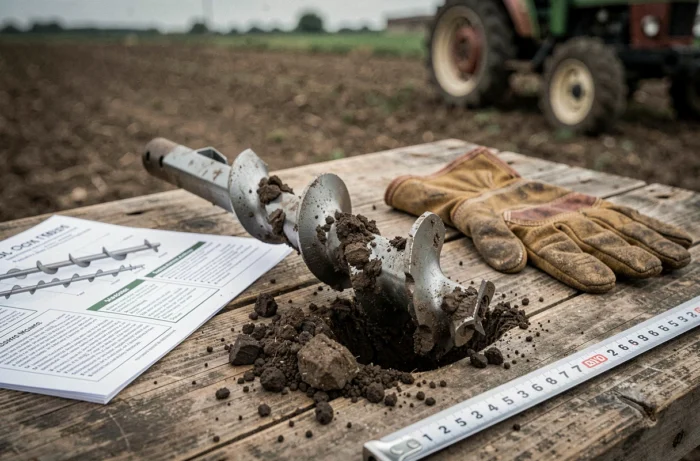
Regarding vibrations, personal protective equipment alone is not sufficient. The rotation of a drill bit in heterogeneous soil (rocks, roots) generates irregular vibrations that anti-vibration gloves partially mitigate. Limiting continuous drilling sessions to short periods and alternating operators remains the most effective measure on a job site.
- Wear earplugs or a noise-canceling headset, even for a few holes: the noise level of a gas-powered auger far exceeds the comfort threshold
- Use certified anti-vibration gloves and ensure they do not reduce grip on the handles
- Plan regular breaks for arms and hands, especially when drilling in compact soil
- Check that the model used has the CE marking and noise level labeling, which is always mandatory despite the recent removal of the NOISE database feed
Maintenance of the auger bit: sharpness and storage
A well-sharpened bit consumes less fuel, reduces vibrations, and produces cleaner holes. The sharpness is checked visually: if the cutting edge has rounded reflections or chips, sharpening is necessary.
For standard steel bits, a flat file or an angle grinder with a fine disc can restore the cutting angle. The operation takes a few minutes and can be done between two series of holes on the job site.
Storage affects the longevity of the bit. After use, remove all dirt (especially clay, which retains moisture), dry the bit, and apply a thin film of oil on the metal surfaces. A damp bit stored in a non-ventilated garage will rust within weeks.
On gas-powered augers, the air filter and spark plug should be checked at the start of each season. A clogged filter reduces engine power and increases consumption. A spark plug that is black or oily indicates a mixture that is too rich or incomplete combustion.
The choice of auger, adherence to drilling techniques suitable for the soil, and regular maintenance of the bit form an inseparable set. A tool well-suited to the terrain, used in short passes and kept sharp, transforms a fencing or planting project into a quick and hassle-free operation.